Installing Ubuntu Server Guide is a simple walkthrough of the stages in the process. This is not a comprehensive guide to all the options but rather a first look for someone who has never done it. The aim is to show new users what to expect when starting. This article is part of a much larger guide into using Ubuntu Server to run Opensimulator. However, it can equally be a stand-alone item. Anyone who prefers watching a video should scroll to the bottom of the page.
There are many ways to get the installer running; however, the most common approach for a first time installer is using a USB memory stick. First, insert the USB stick with the installer into a USB port. Secondly, turn the server on and make sure it is using USB booting. Finally, continue to a normal boot cycle. Help creating a Ubuntu Server USB stick is available in Create a Windows Server USB in Ubuntu & Windows.
Getting Started – Installing Ubuntu Server Guide
When the installer launches, the first choice it gives is language. Next, depending on the age of the installer, there may be a request to update the installer. Finally, navigating through the menus is done using TAB, SPACE, CURSOR and ENTER keys.
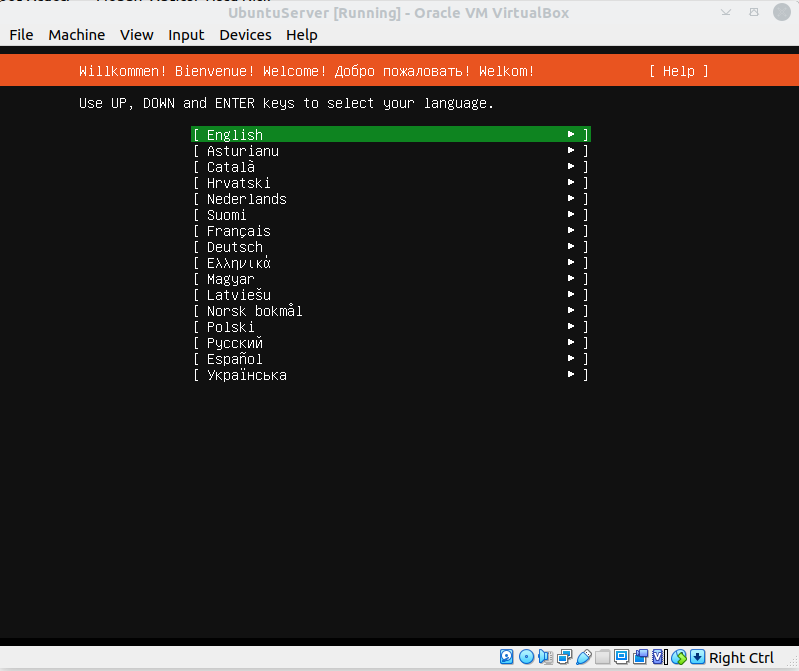
Ubuntu Server Step 1 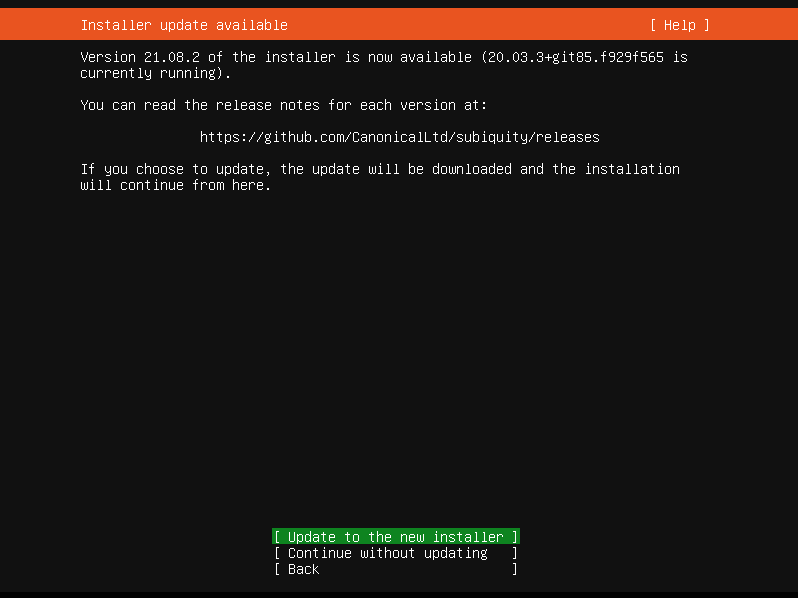
Ubuntu Server Step 2
Following any installer updates, it will give keyboard layout choices.
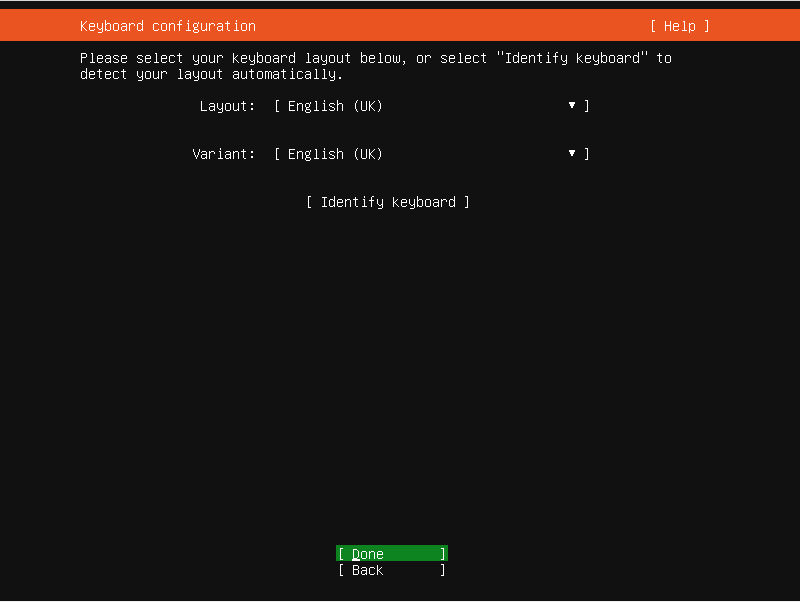
Ubuntu Server Step 3 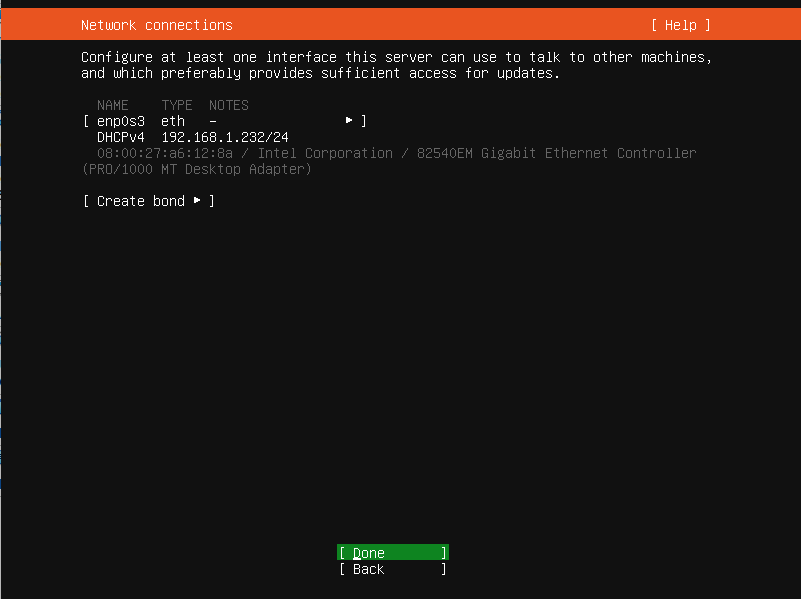
Ubuntu Server Step 4
Next comes questions about proxy and ubuntu mirror settings. Again, most users will be able to accept the defaults for a stand-alone server.
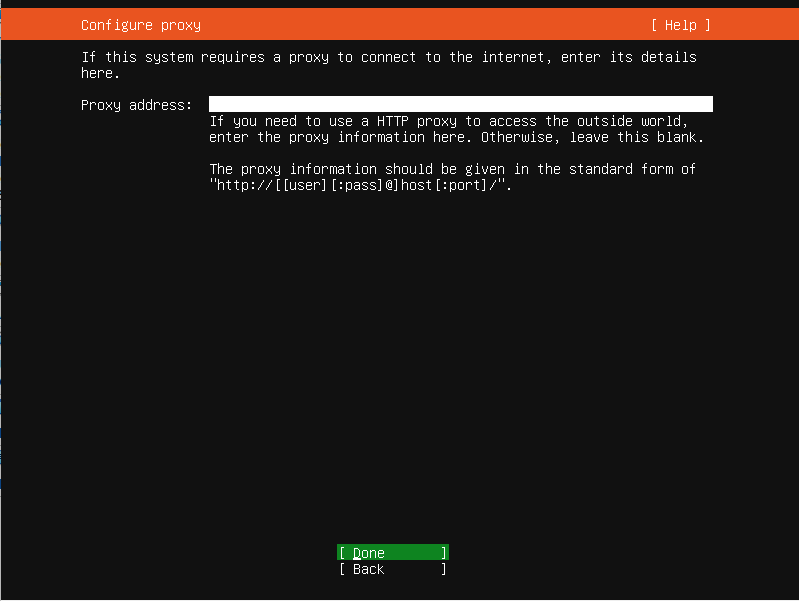
Ubuntu Server Step 5 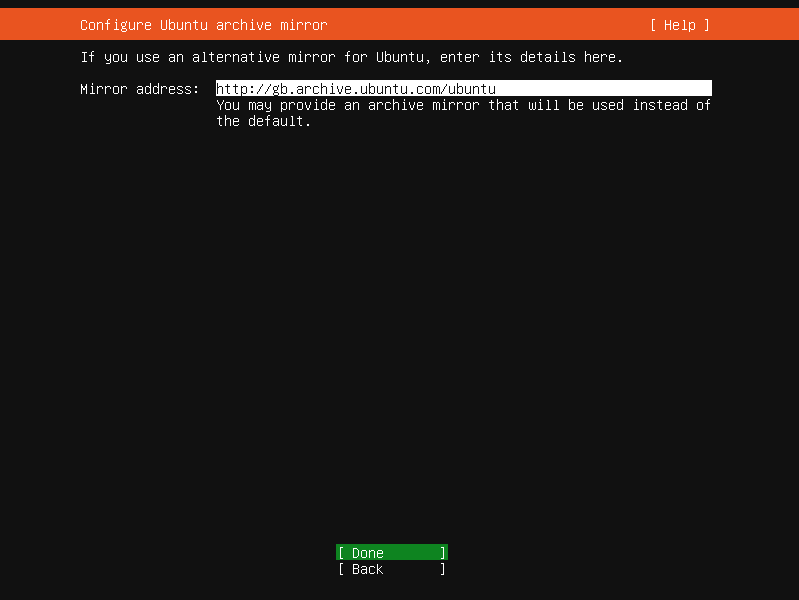
Ubuntu Server Step 6
The following screens deal with choosing a file system type; most new users can leave this as the default. Default values format the entire drive as Ext4. Additionally, it enables logical volume management and doesn’t encrypt the drive. Drive encryption is something to seriously consider depending on how and where the server is stored.
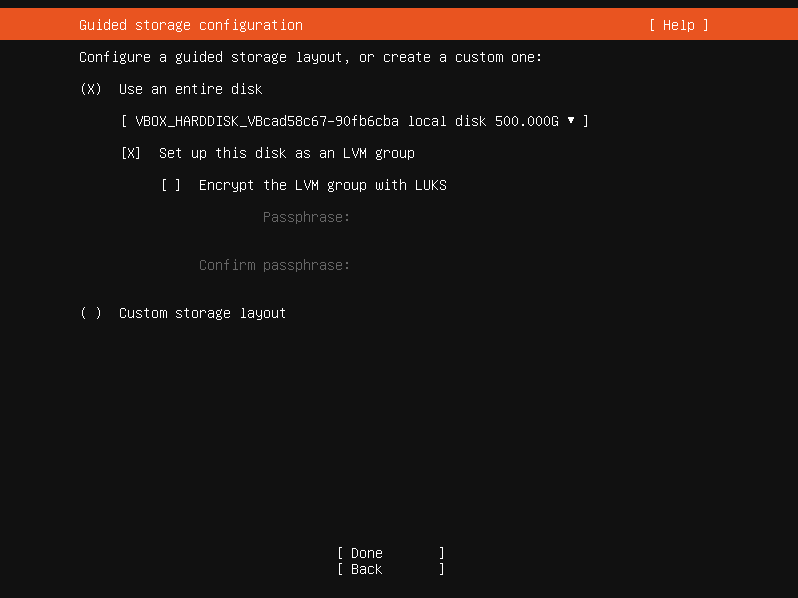
Ubuntu Server Step 7 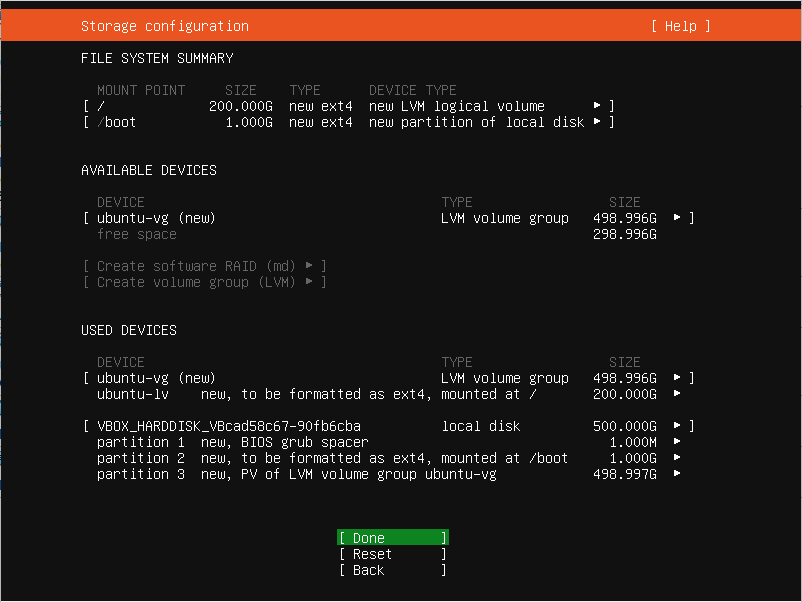
Ubuntu Server Step 8
Next is a chance to import SSH keys from places like GitHub, choosing a user name and server name.

Ubuntu Server Step 10 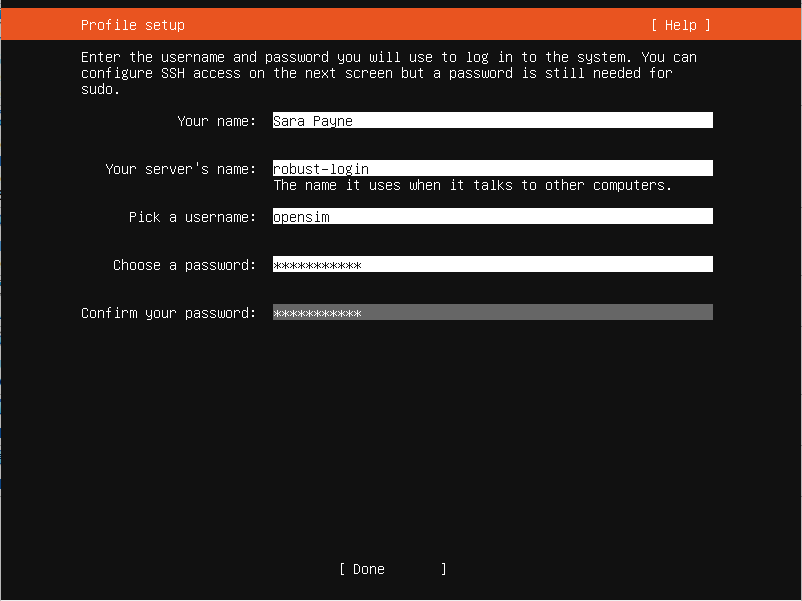
Ubuntu Server Step 9
Finally, the install copies the files and apply s the settings before completing.

Ubuntu Server Step 12 
Ubuntu Server Step 11
12 thoughts on “Installing Ubuntu Server Guide”