
Introduction to Rider Vs Visual Studio – Creating Projects
Rider Vs Visual Studio – Creating Projects is the first instalment of a series about developing in C# on Linux as well as Windows. The vast majority of the information about Rider also applies to Rider on Windows. However, where there are differences between Windows and Linux, it will be made clear. To clarify All examples of Visual studio use Visual Studio 2019 in Windows. Additionally, there may be variations for MacOS. Videos accompanying this blog series will be available on my YouTube Channel. Finally, other variations may exist between different distributions of Linux. All examples in this series use Ubuntu.
First Views
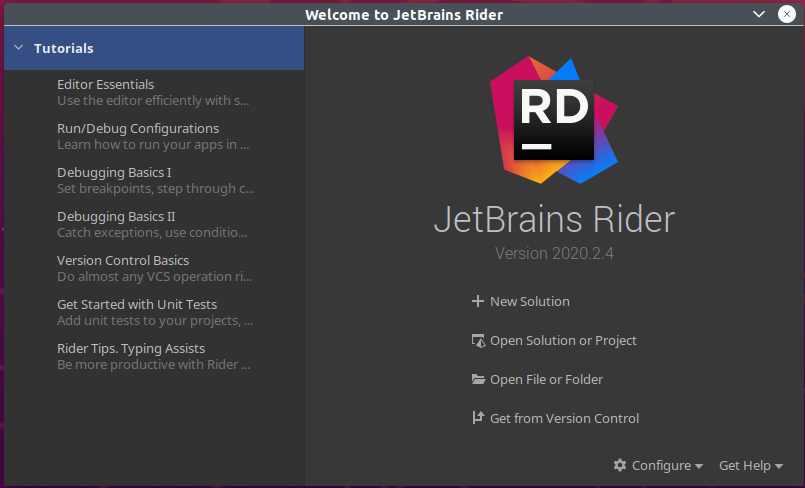
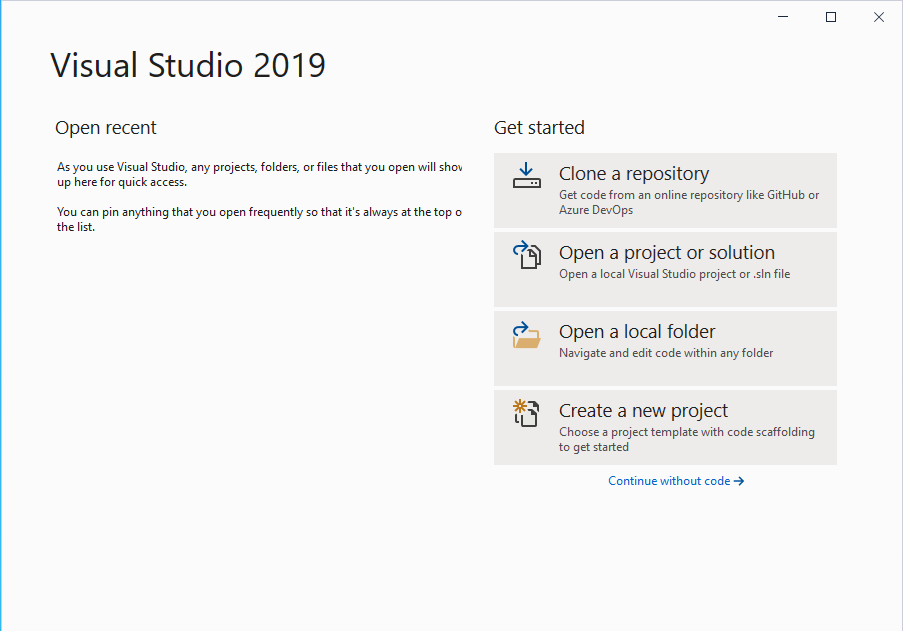
The very first view of both JetBrains Rider and Microsoft Visual studio offer very similar options.
- Load a recent project
- Connect to a version control
- Open a solution/folder
- Create a new project
Creating A project

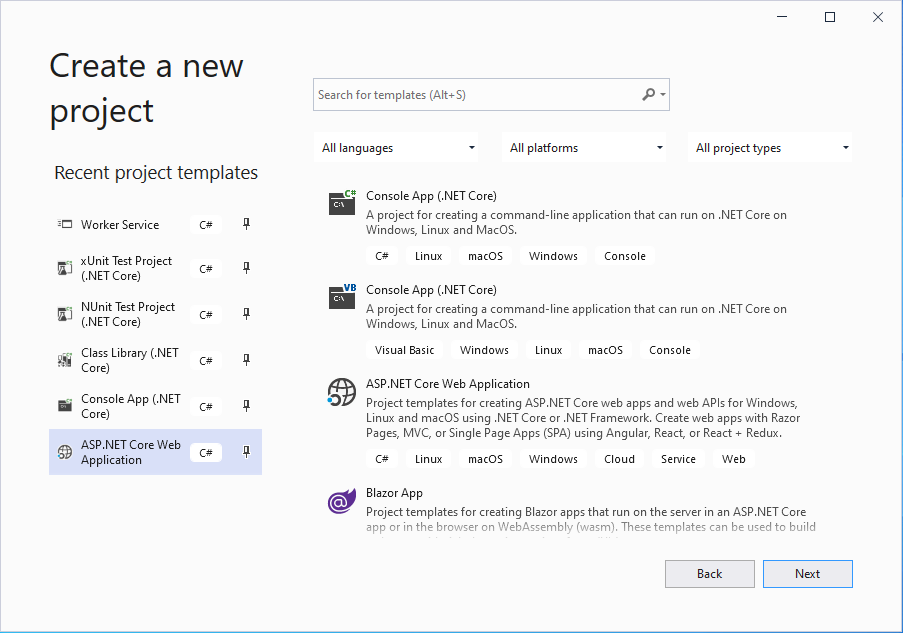
The first noticeable differences between Rider and Visual studio are on this screen. Rider focuses on a single branch of development. Alternatively, Visual Studio has many other options (depending on the choices made when installing Visual Studio). Instead, JetBrains provide dedicated products for different development purposes. Additionally, Rider uses a nested structure for projects, whereas Visual Studio lists them individually. Additionally, Visual Studio allows you to apply filters to the available options.
S.D.K Handling (.NetFramework .NetCore 3.1 Mono .Net5 and others)
JetBrains Rider will allow the use of any installed SDK under Linux and Windows. Visual Studio installs many SDKs in the background during installation. In contrast, users of Linux will need to install these SDKs manually. Similarly, users of Rider under Windows without a Visual Studio installation will need to do the same. JetBrains provide detailed instructions for Windows users. DotNetFramework uses Mono under Linux. macOS users can also use the mono project or the .net environment in Visual Studio for Mac.
Installing S.D.Ks – Rider Vs Visual Studio
Installing Mono
Detailed instructions for installing of Mono on many platforms, including different Linux distributions, are available on the Mono Project Downloads page. A sample for Ubuntu 20.04 is below, but check the main Mono Project page for updates.
sudo apt install gnupg ca-certificates
sudo apt-key adv --keyserver hkp://keyserver.ubuntu.com:80 --recv-keys 3FA7E0328081BFF6A14DA29AA6A19B38D3D831EF
echo "deb https://download.mono-project.com/repo/ubuntu stable-focal main" | sudo tee /etc/apt/sources.list.d/mono-official-stable.list
sudo apt update
sudo apt install mono-complete
Installing .NetCore (2.0, 3.1) and .Net5
Detailed instructions for the installation of .NetCore3 on many distributions is available in the Microsoft Documentation. The instructions below are for Ubuntu 20.04 but check the Microsoft documentation for updates. Also, note these instructions are slightly modified. This is because Microsofts documented instructions use the ‘-y’ switch on apt. Consequently, apt will assume you agree to every change. However, automatically accepting everything can cause problems if other packages are affected.
Preparing the system
wget https://packages.microsoft.com/config/ubuntu/20.04/packages-microsoft-prod.deb -O packages-microsoft-prod.deb
sudo dpkg -i packages-microsoft-prod.deb
sudo apt-get update
sudo apt-get install apt-transport-https
sudo apt-get update
Install .Net5
sudo apt-get install dotnet-sdk-5.0
Install .NetCore 3.1
sudo apt-get install dotnet-sdk-3.1
Install .NetCore 2.1
sudo apt-get install -y dotnet-sdk-2.1
2 thoughts on “Rider Vs Visual Studio – Creating Projects”