
C# Beginners – Visual Studio; is the gold standard in IDEs for C# development under Microsoft Windows. It comes with a community licence for people not using it commercially. Visual Studio has graphical designers for both WPF and Winforms. That sets it aside from all other IDEs when coding in C#.
Install and Setup Visual Studio For C#
Download and Run Setup
Visit the Visual Studio Downloads page.
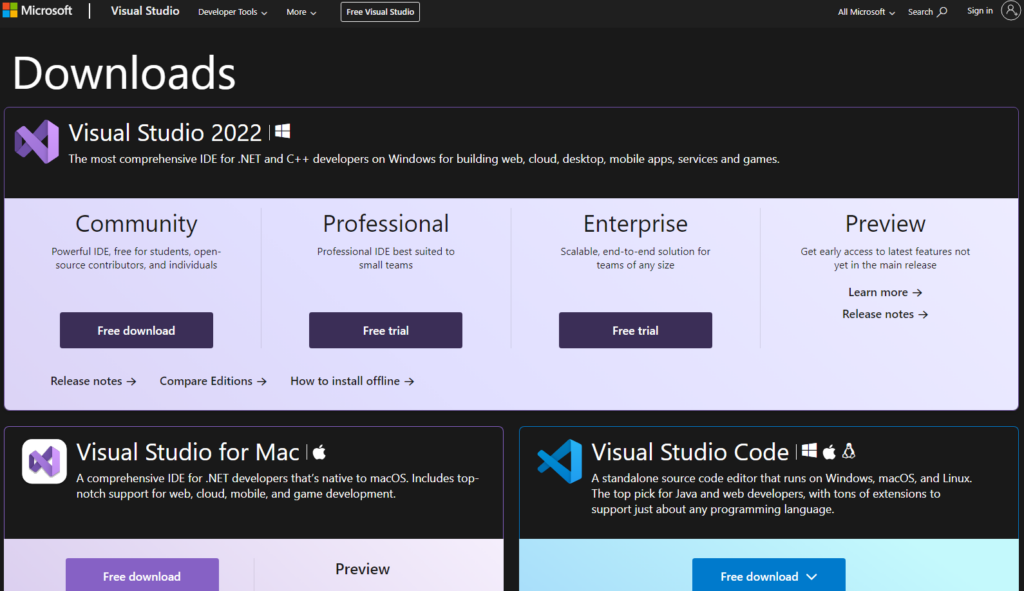
Run Setup
Run the setup file; this will install the Visual Studio installer rather than Visual Studio itself.
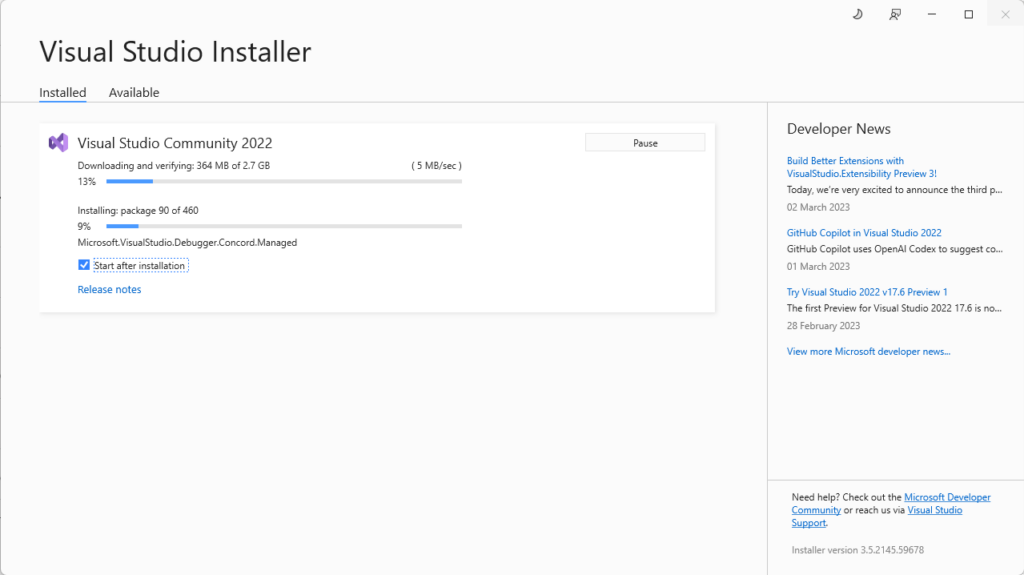
Once that has been installed, it will offer Visual Studio Components.
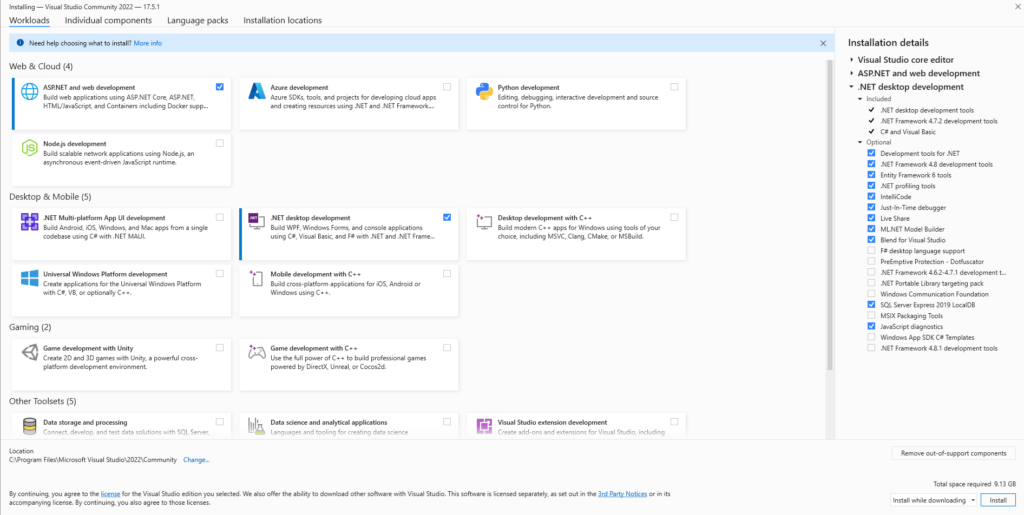
Component Selection
The only component needed for C# is the Dot Net Desktop Development. Of course, if you want others, then feel free to install them. However, for this guide’s tutorials, you only need Dot Net Desktop Development.
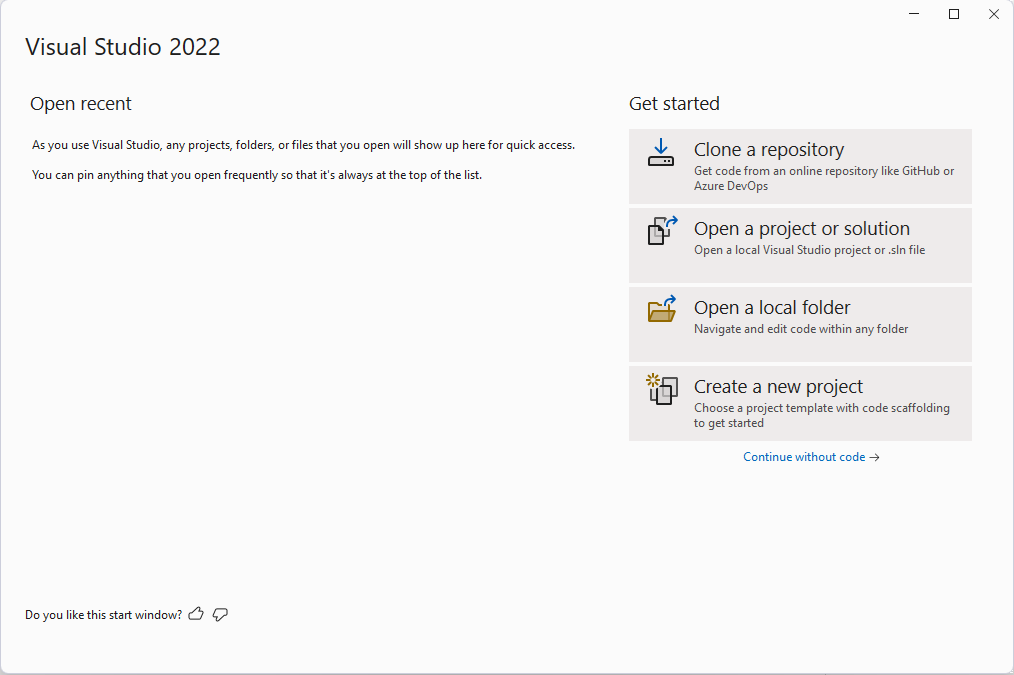
Starting Visual Studio
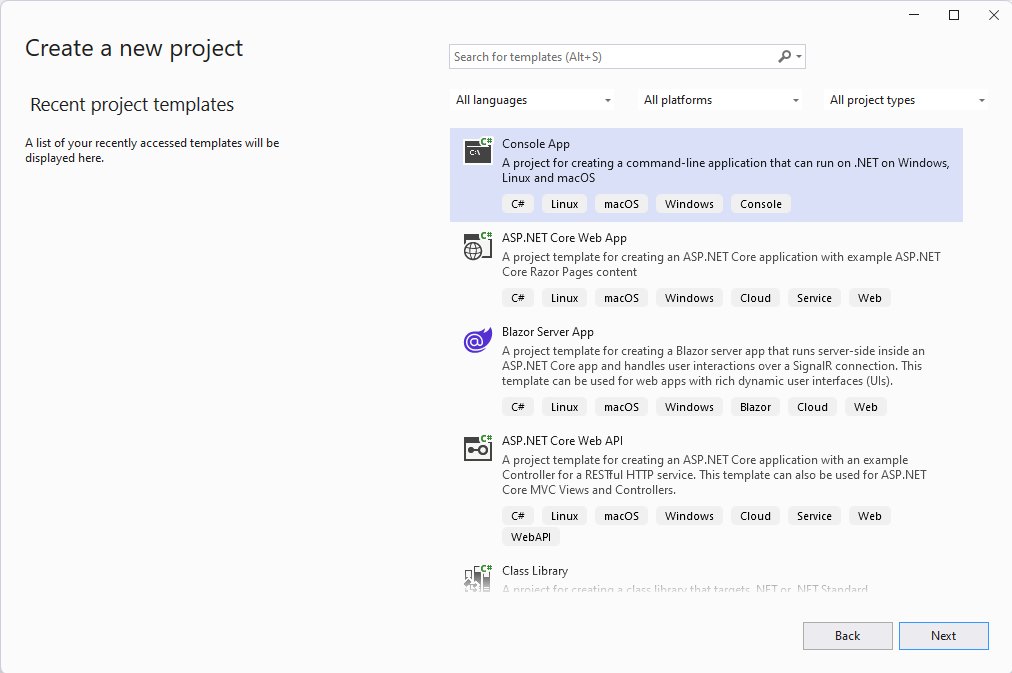
After the installer finishes, run visual studio and click the create new project button.
Next, make sure that the console app is selected and that it is the .Net on Windows Linux and macOS
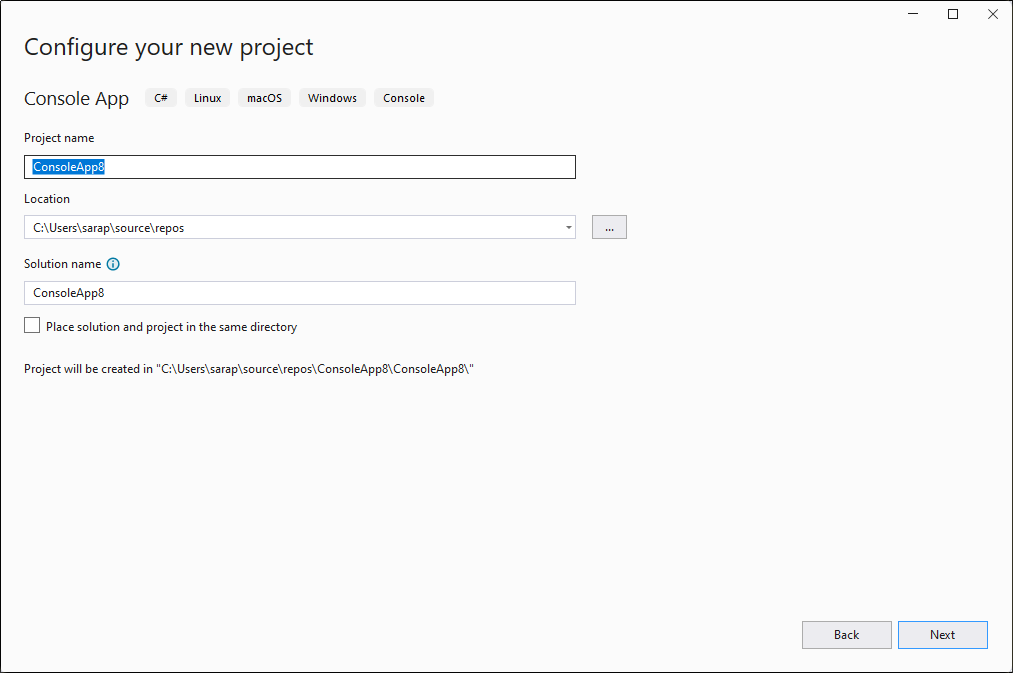
Click the next button and set the name and location for your new C# Solution.
Click the next button and choose the .Net SDK; I suggest version 6 since that is the latest long-term support version at the time of writing.
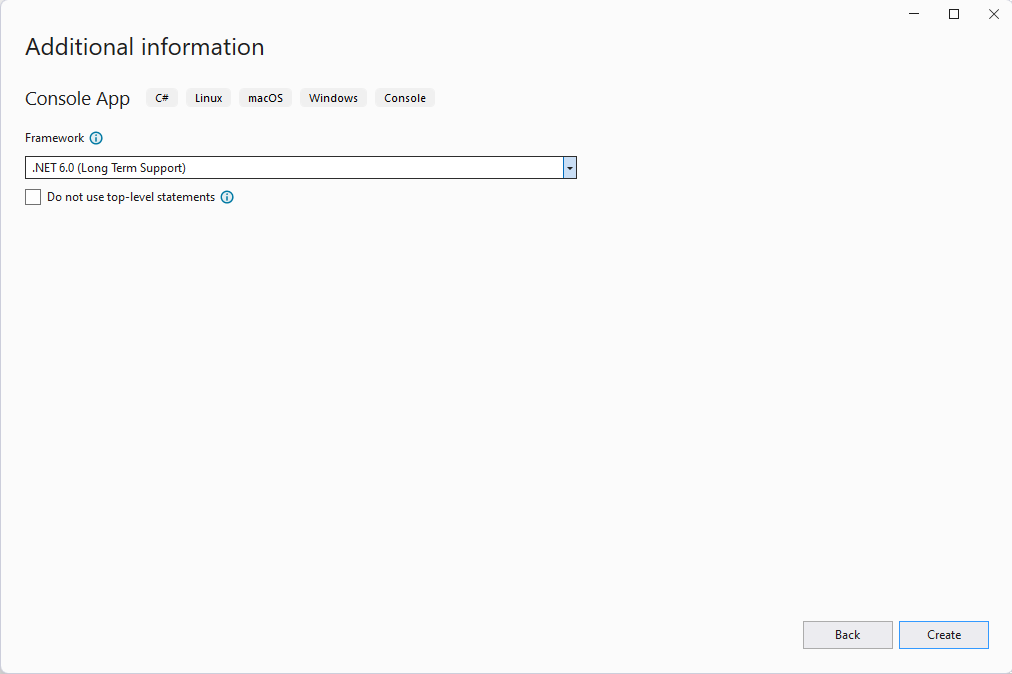
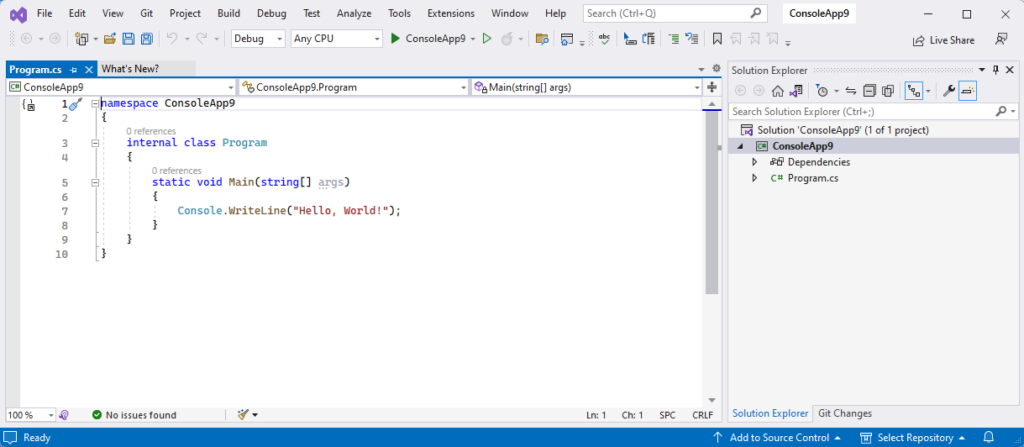
Note the check box for “Do not use top-level statements”. If you check that, it will give you the old-style C# program.cs file. Leaving it unchecked will start the new way since Dot Net 6.
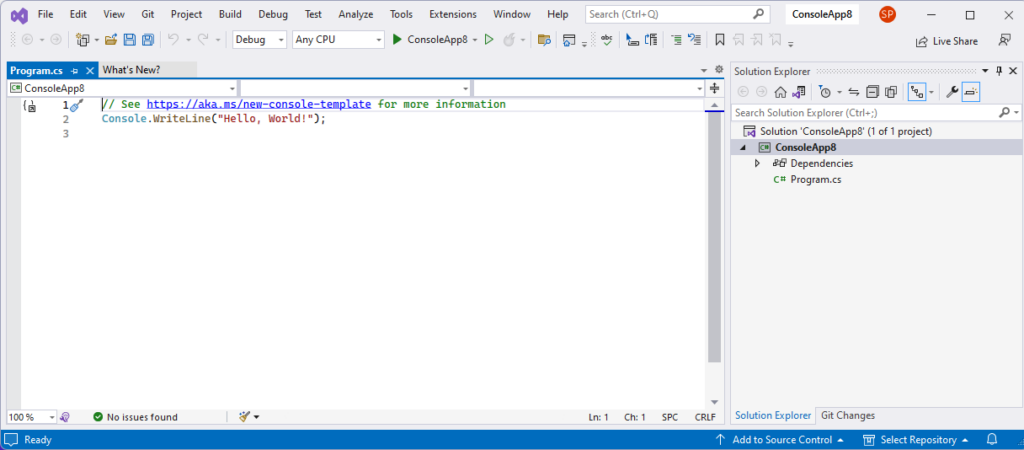
Top Level Statements – Ready To Code (New Way)
No Top Level Statements – Ready To Code (Old Way)
Video Version – C# Beginners – Visual Studio
Related Articles – C# Beginners – Visual Studio
- C# Beginners Introduction
- C# Beginners – IDE Choice
- C# Beginners – Using Vs-Code
- C# Beginners – Using Rider
- C# Beginners – Start Coding
- C# Beginners Variables & Types
- C# Beginners – User Input
- C# Beginners – If Else Selection
- C# Beginners – Switch Statement
- C# Beginners – Try/Catch/Finally
- C# Beginners – Lists And Arrays
- C# Beginners – Loops
11 thoughts on “C# Beginners – Visual Studio”