Create a Ubuntu Startup USB in Ubuntu And Windows is a quick step by step guide to complete this process. It is part of a more extensive guide into setting up Ubuntu and Windows for Opensimulator.
Downloading Ubuntu Server
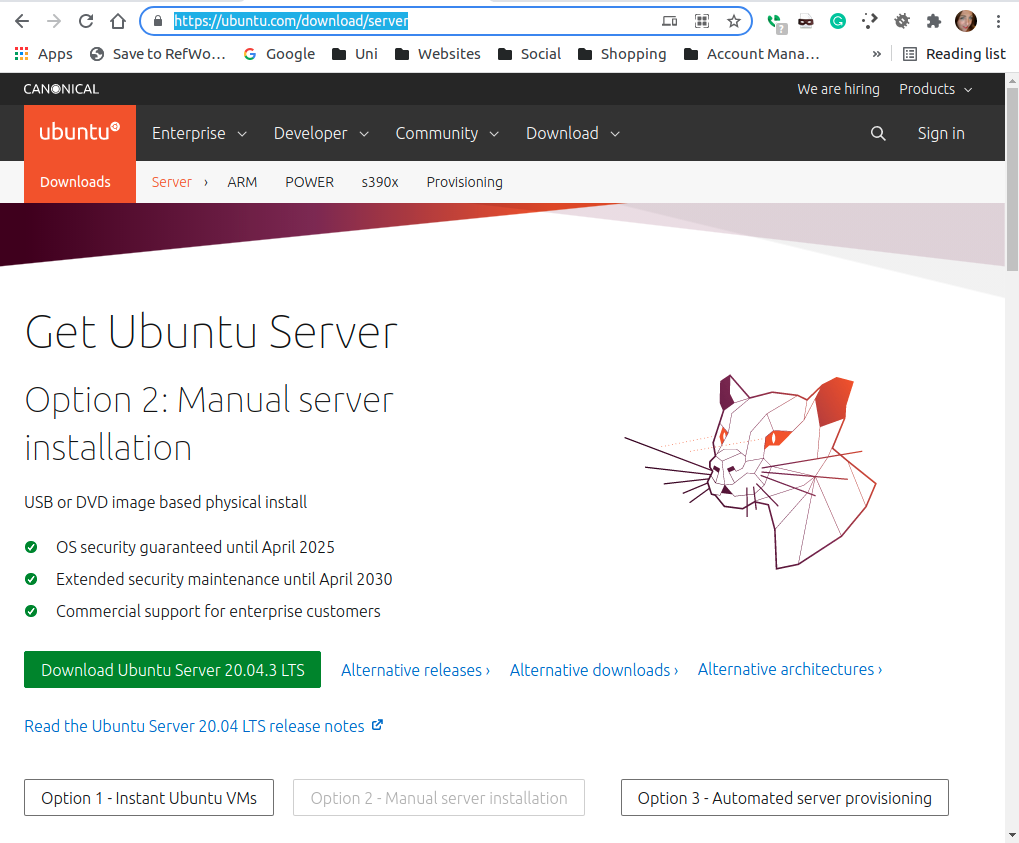
First, the ISO file for the Ubuntu server is available to download from here
Write the image to a USB stick – Create a Ubuntu Startup USB
second, after downloading the iso, it needs burning to a USB stick of at least 8GB.
Using Windows
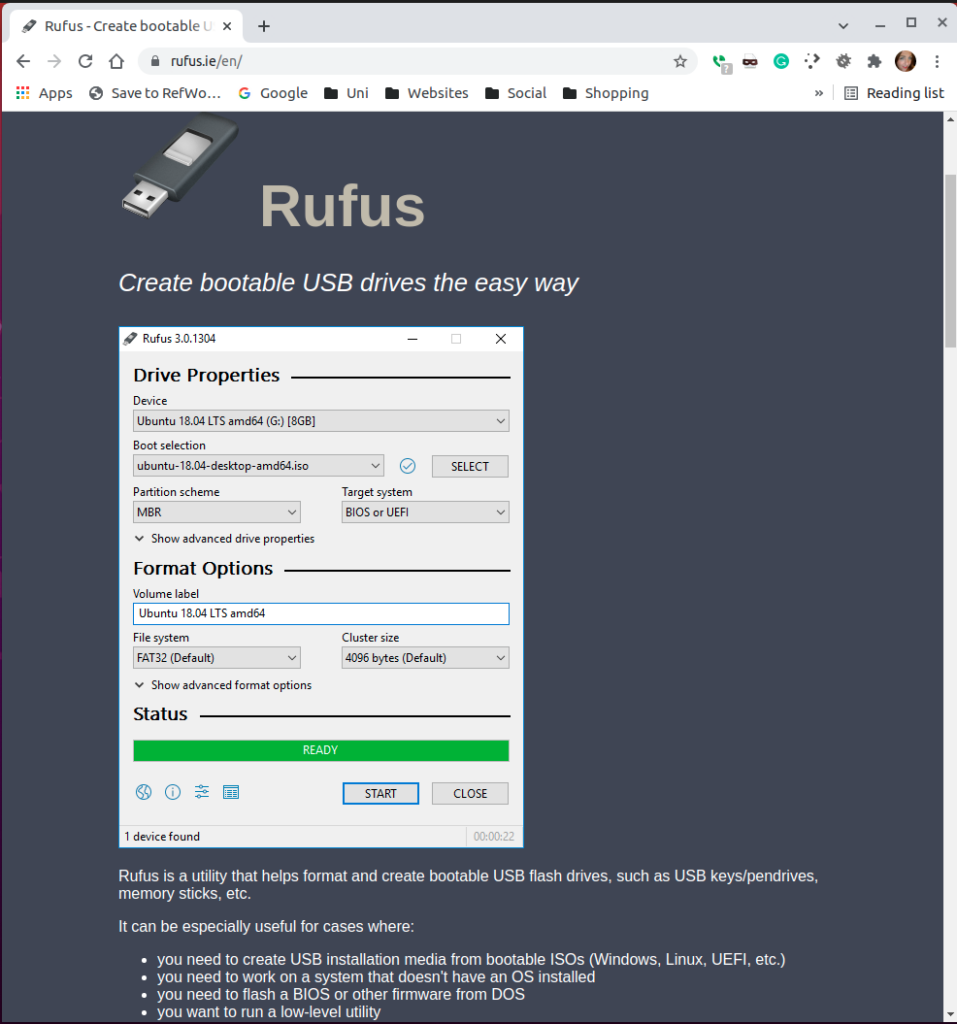
Firstly, download Rufus
Secondly, when the download finishes, open the file. Then thirdly, there will be a confirmation from Windows that the publisher is verified.

Rusus Install Confirmation 
Rufus Extra Files Confirmation
Following this, there is a popup asking for permission to download the extra files Rufus requires to write the USB stick.
Rufus Burn Start 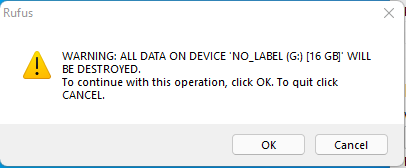
Rufus File Overwrite Warning
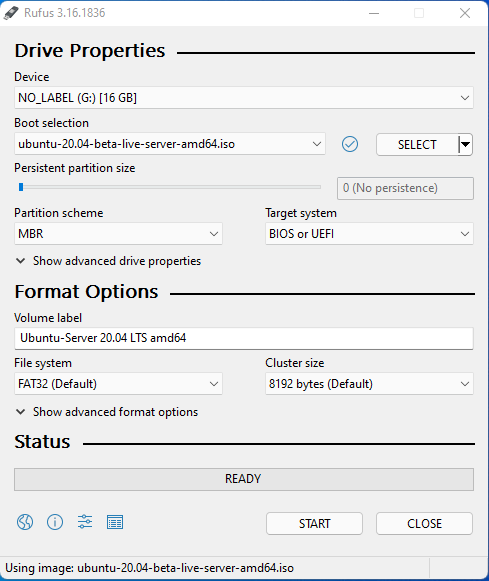
Finally, after a short install process, the Rufus application opens. Again, everything can stay as its default setting. All that is required is selecting the USB stick to burn to and the ISO file to read. The “Device” option is a drop-down that shows all available devices to write to. Immediately below this is the Boot selection; on the right of that is a select button. Finally, use the select button and navigate to the Ubuntu ISO downloaded in the previous stage.
Using Ubuntu Desktop
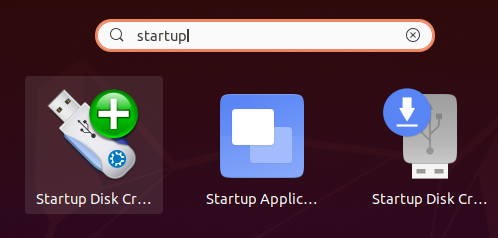
Open the Startup Disk Creator application by opening the main Ubuntu menu. In the search box, type in “startup”, then click to launch.
If the ISO you download above is not already shown, use the “other” button, then navigate to it.
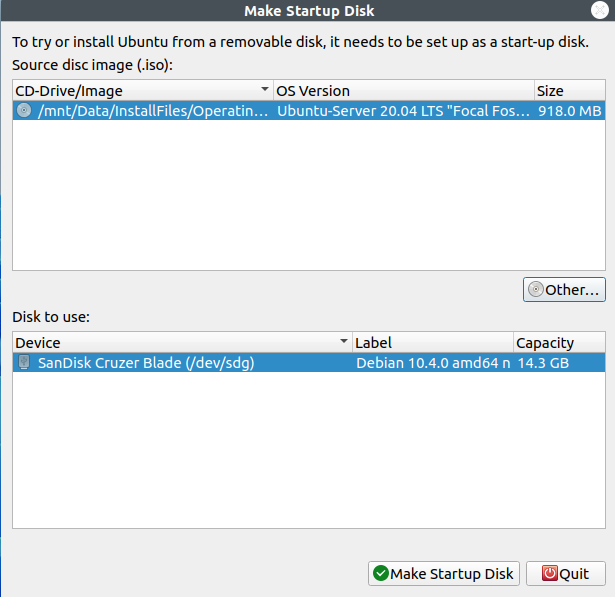
Select the USB drive you wish to write to and click “Make Startup Disk”.

Its Ready
After the writing process is complete, use the method of the operating system to safely remove a USB stick. Following this, insert the stick into a USB port of the new Ubuntu machine. If USB booting is not enabled, then enable it and continue the boot. Creating a Ubuntu Server Startup USB is complete. Next, move on to the Guide for Installing the Ubuntu server.
4 thoughts on “Create a Ubuntu Startup USB in Ubuntu And Windows”