Create a Windows Server USB in Ubuntu & Windows is a step by step guide to creating a bootable USB stick for Windows Server. It is part of a significant guide to setting up a Windows server for Opensimulator.
Downloading Windows Server ISO
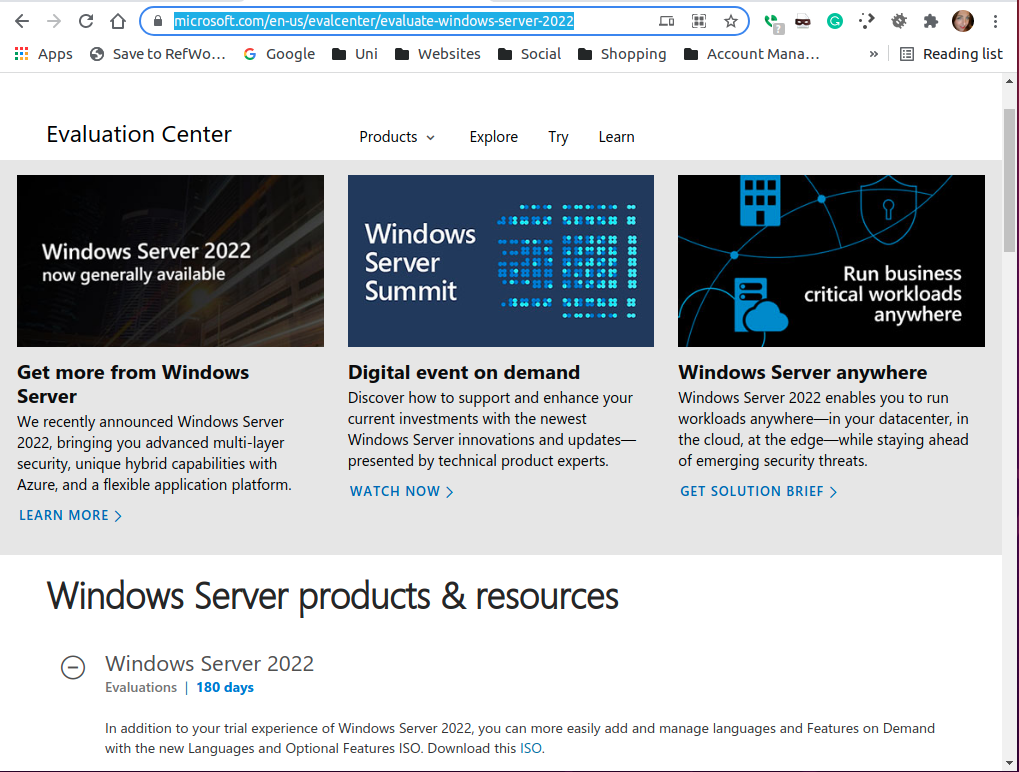
First, the ISO file for the Windows server is available to download here.
Create The USB Stick
Next, after downloading the ISO, it needs writing to the USB stick; additionally, the USB stick must be at least 16GB.
Using Windows
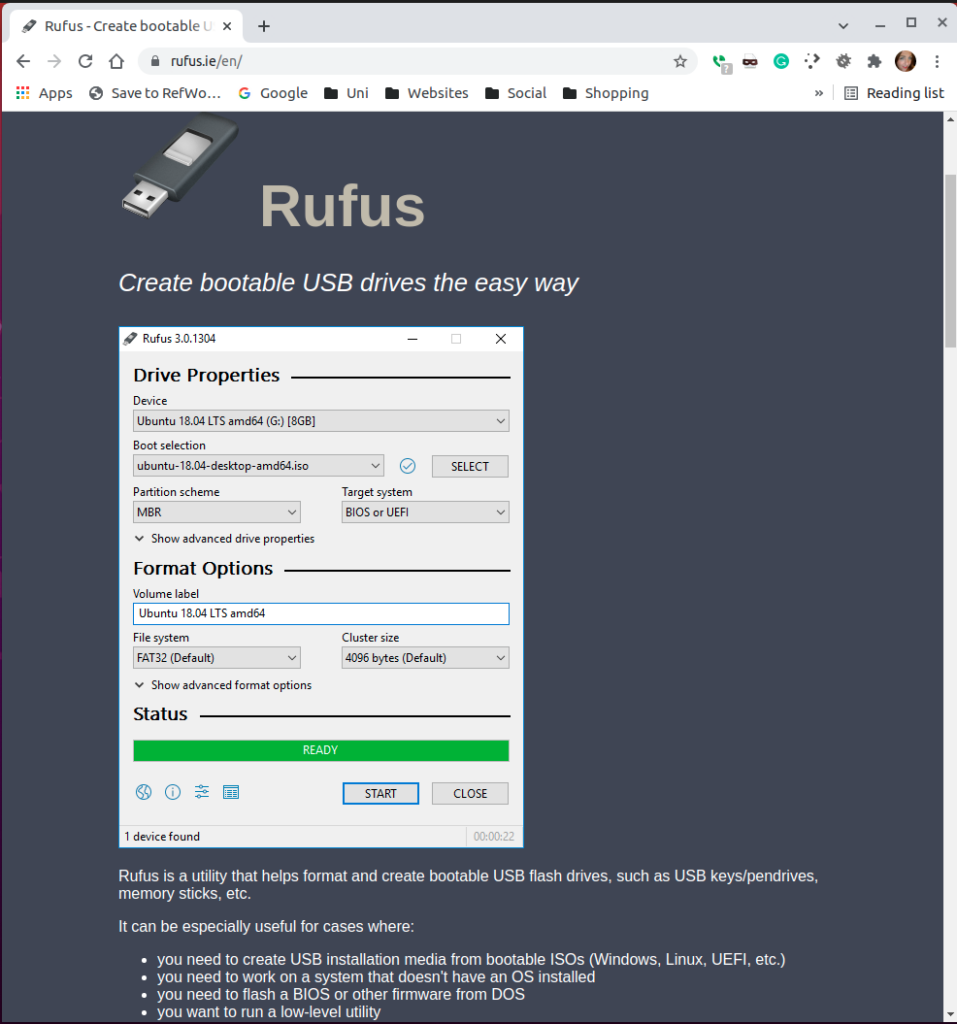
Firstly, download Rufus
Secondly, when the download finishes, open the file. Thirdly there will be a confirmation from windows that the publisher is verified confirming you wish to install. Following this, a popup asks for permission to download the extra files Rufus requires to write the USB stick.

Rusus Install Confirmation 
Rufus Extra Files Confirmation
Finally, after a short install process, the Rufus application opens. Again, everything can stay as its default setting. All that is necessary is to select the USB stick to use and the ISO file to read. The “Device” option is a drop-down that shows all available devices to write to. Immediately below this is the Boot selection; on the right of that is a select button. Finally, use the select button and navigate to the Ubuntu ISO downloaded in the previous stage.
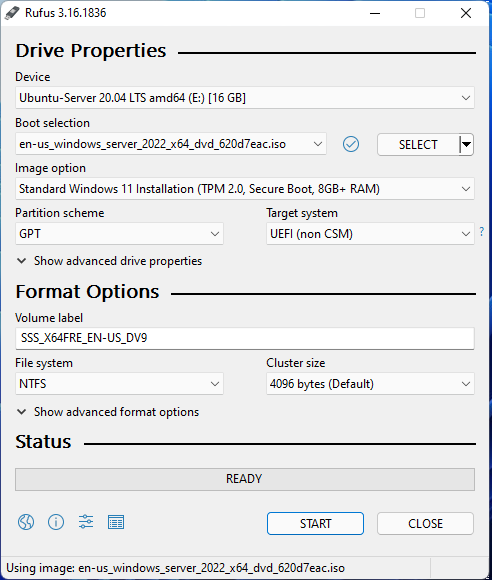
All the settings are set from the ISO file, and the device name will be updated. It status Ubuntu at the top because that is what was on this particular USB before writing Windows.
Using Ubuntu – Create a Windows Server USB
Ensure ExFat tools are installed
Open a terminal window and use the apt to install them.
sudo apt install exfat-utils exfat-fuse
Preparing the drive
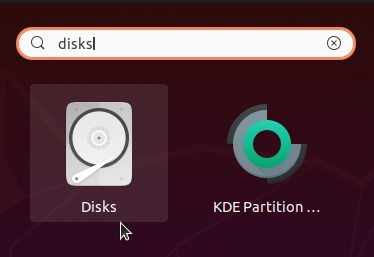
Secondly, load the Disks applications
Thirdly select the USB drive
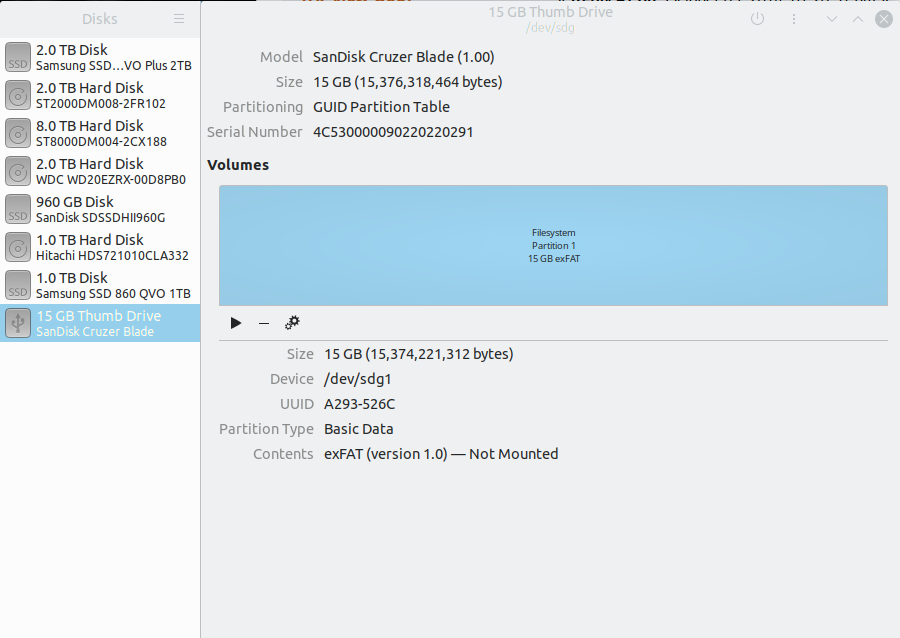
Fourthly, under the big blue bar are some options. If there is a square symbol to the left of them, click that to unmount the drive. After its unmounted, if there is a minus symbol, as shown above, click that to remove any existing partitions.
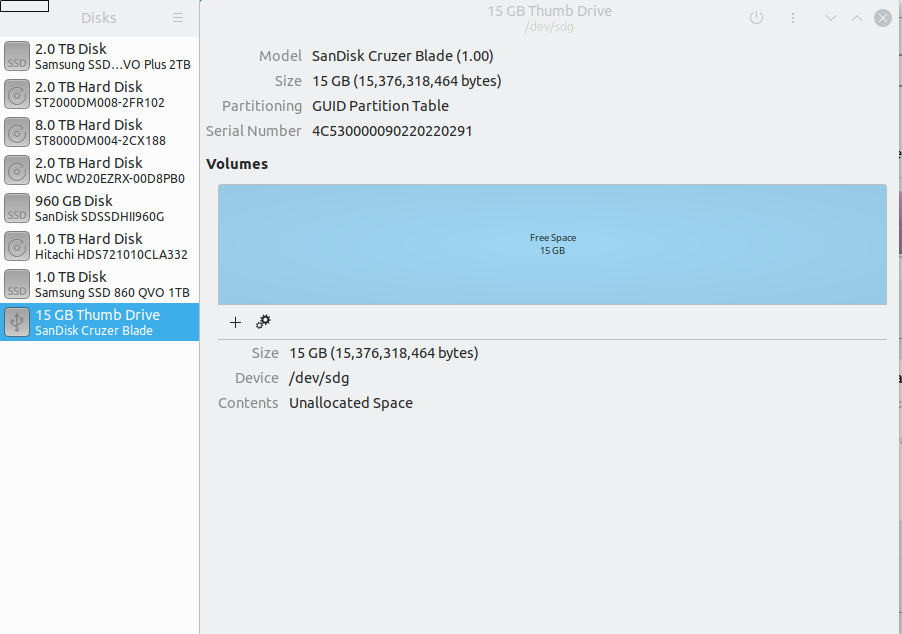
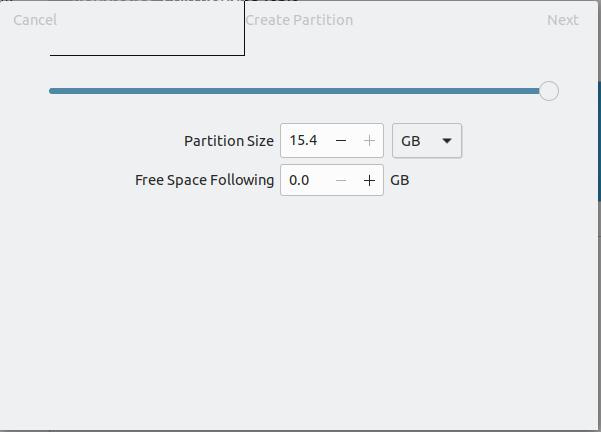
Fifthly add a new partition by clicking on the plus symbol and choosing the drive’s full size.

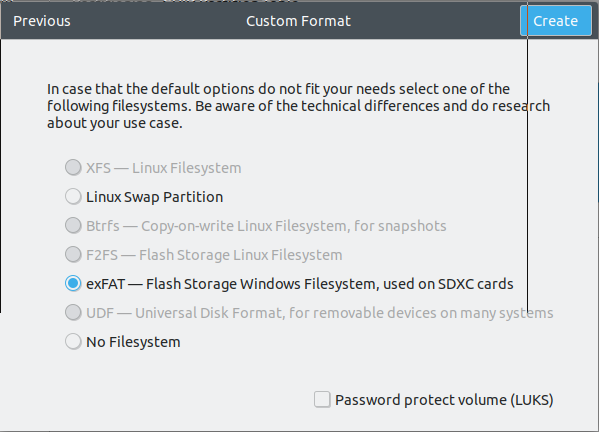
Next, choose the full drive size and then select others under the type options.
Disks App Select Full Drive Size 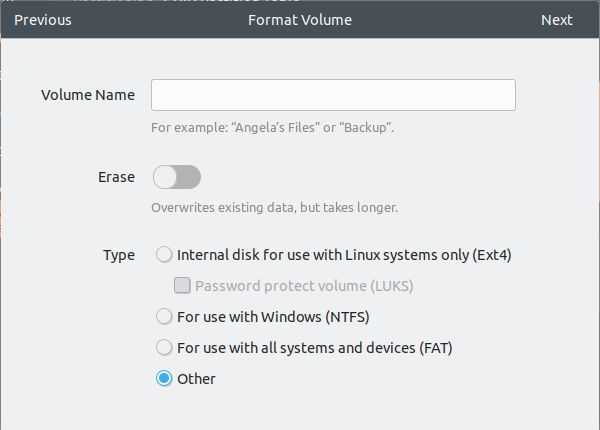
Disks App Other File Type
Finally, in the drive preparation stages, choose exFAT and then create
Mount the Windows Server ISO File – Create a Windows Server USB
ISO mounting is built into Ubuntu by default. First, open files, then navigate to the Windows ISO, right-click and choose open with disc image mounter.
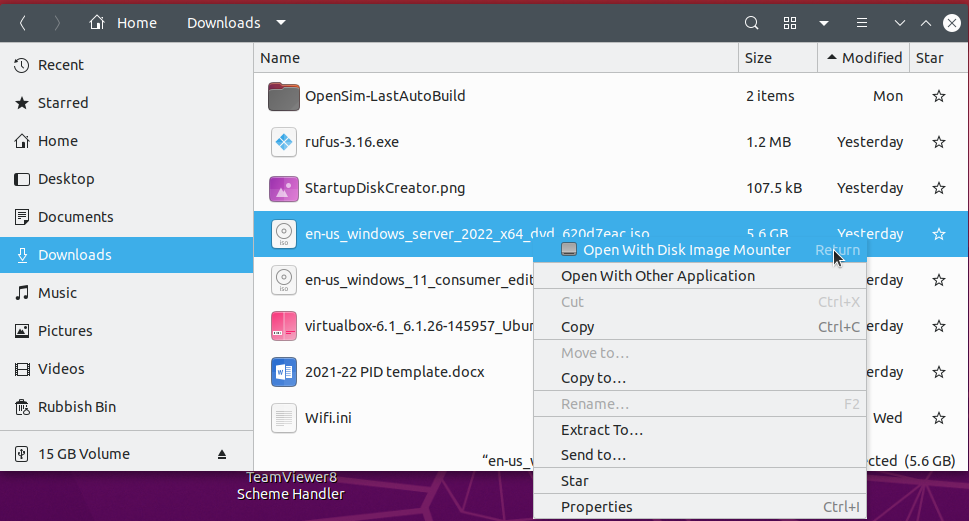
Now the ISO, as well as the USB, are both mounted and available to select.
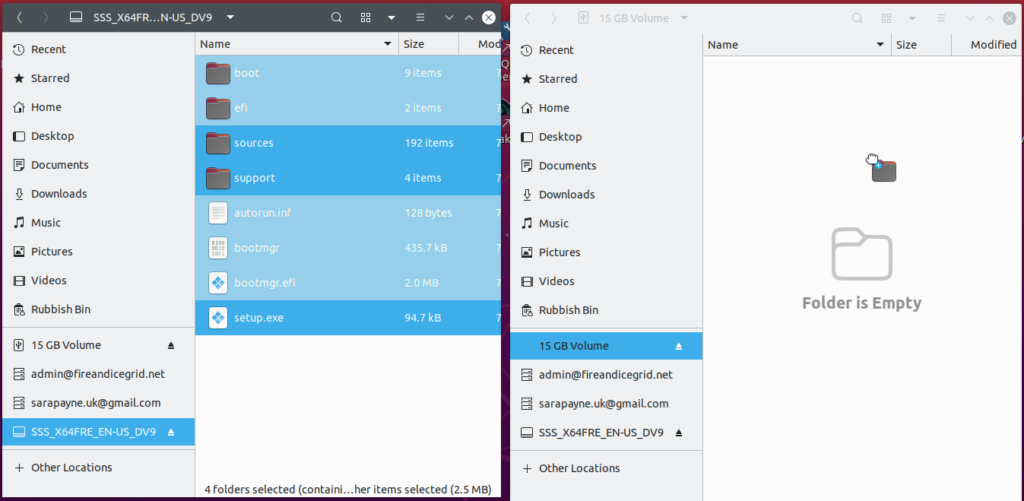
Finally, copy the files from the mounted Windows Server ISO to the USB drive. Either drag and drop them between two files windows or use copy and paste. After the writing process is complete, use the method of the operating system to safely remove a USB stick. Following this, insert the stick into a USB port of the new Windows machine. If USB booting is not set, then enable it and continue. Creating a Windows Server Startup USB is complete. Next, move on to the Guide for Installing Windows server.
13 thoughts on “Create a Windows Server USB in Ubuntu & Windows”