Buying Remote Storage From Backblaze is a brief guide to setting up a Backblaze account. Many companies are offering remote storage at a range of prices. Backblaze is among the cheapest but not always the quickest. In addition, it has an API that is fully compatible with Amazon S3. Consequently, there is a lot of support for using this storage with third party programs. Additionally, there is an excellent free allowance each month.
This article is part of a more extensive series on setting up and maintaining servers for Opensimulator. It is possible to read this as a stand-alone article; however, it has limited scope.
Getting Going
Navigate to the Backblaze B2 Cloud Storage page and sign up.
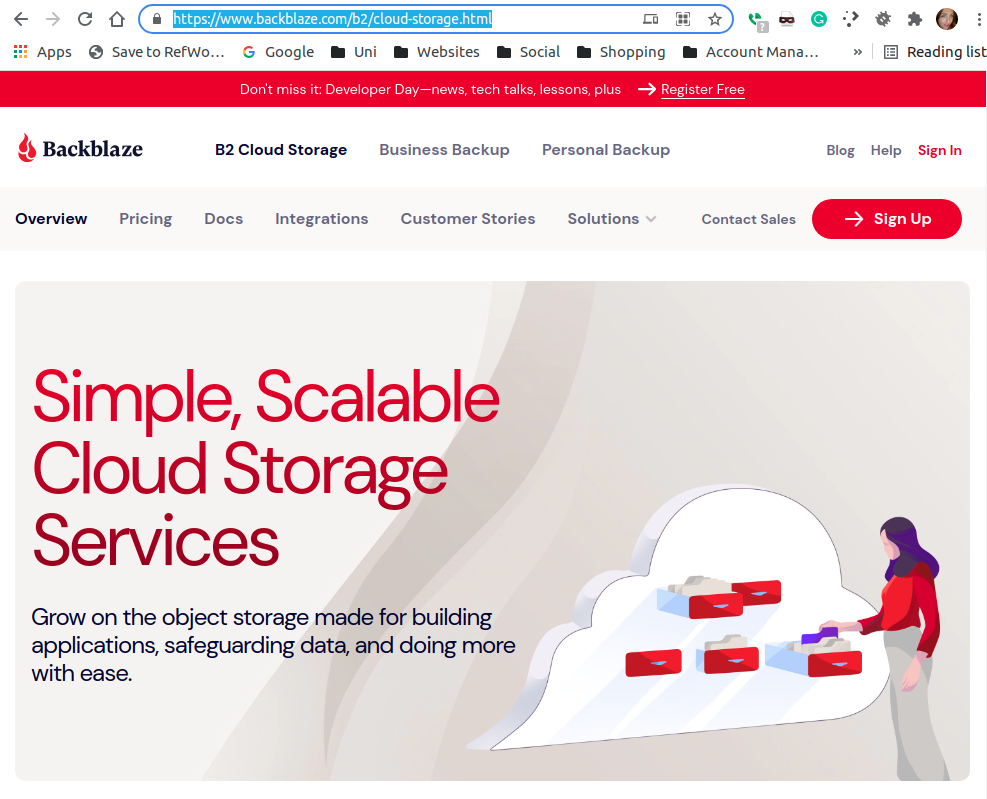
After clicking the signup button, it will ask for an email address and password. Next, it will request linking a phone number to the account.

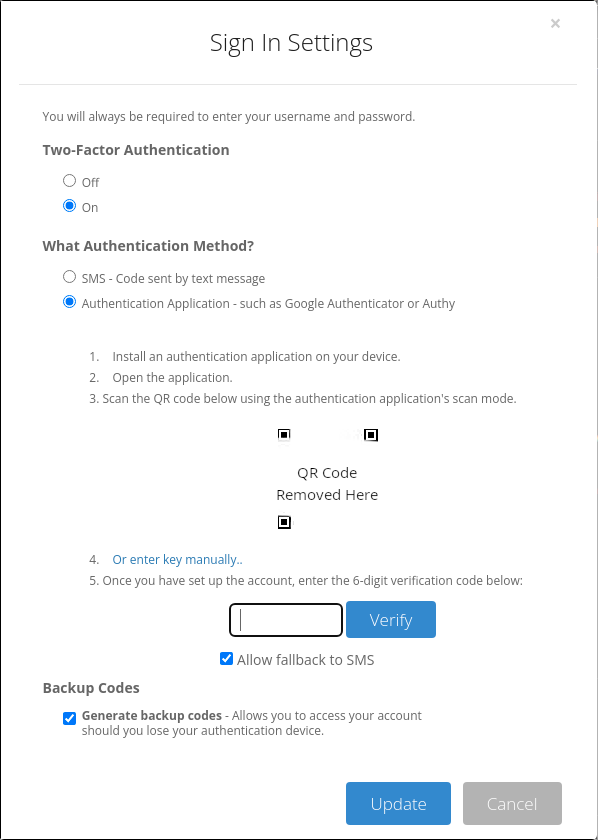
After connecting a phone number, there is the option to enable two-factor authentication (highly recommended).
Once the account setup is complete, it is possible to create new buckets (similar to folders). Each bucket has an individual name and set of credentials. A later article uses buckets and the API to manage the backup of multiple servers automatically.
Creating Buckets – Buying Remote Storage From Backblaze
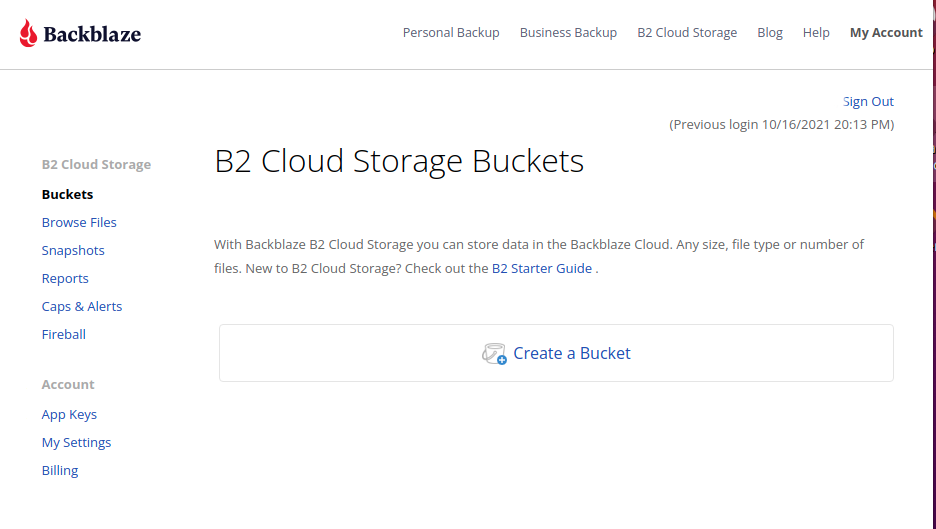
Click the create bucket button and then give the bucket a name. For the purpose of this guide please create one bucket per server substituting the period between the numbers with a hyphen. E.g. 192.168.1.254 becomes 192-168-1-254. Encryptions is not needed as the backup files are encrypted before they are stored.
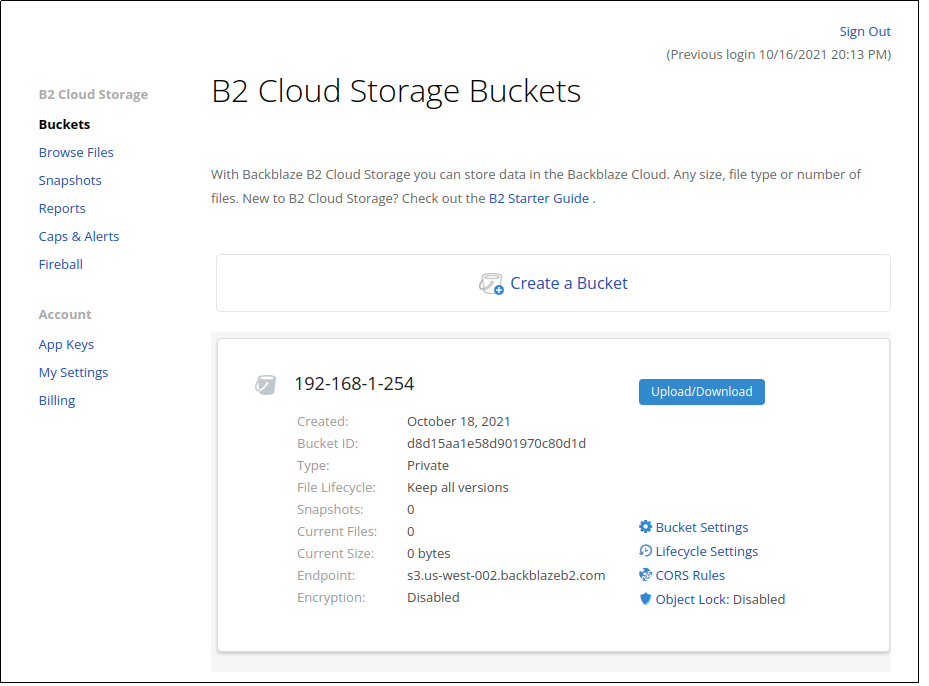
Make a note of the bucket Id and the endpoint, both are necessary when setting up a backup on the server(covered in a later article).
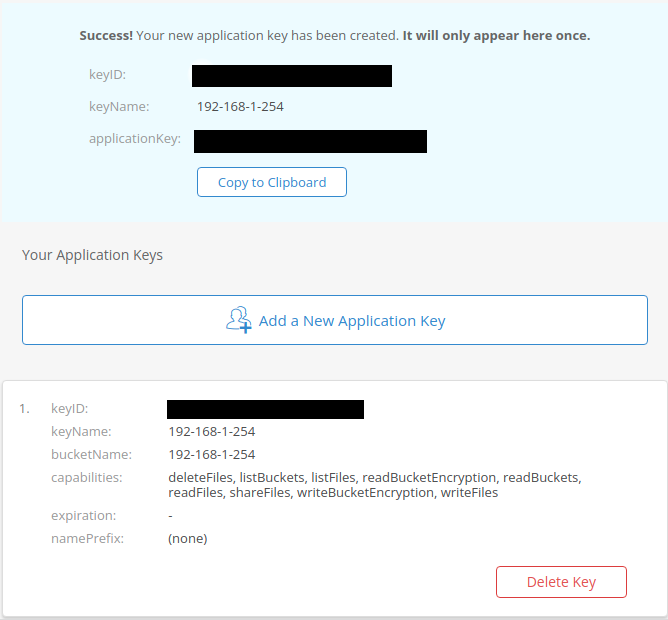
Creating API Keys
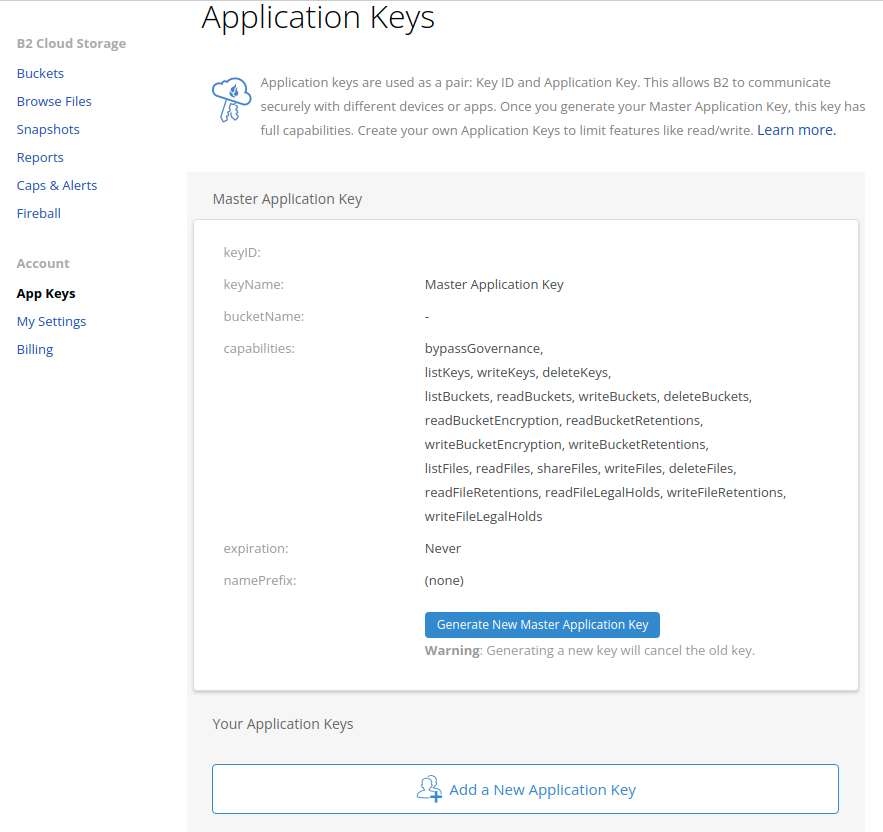
While it is possible to generate one master key that can do everything it is not typically a good idea. Instead, create one key per bucket so each server only has access to a single bucket.
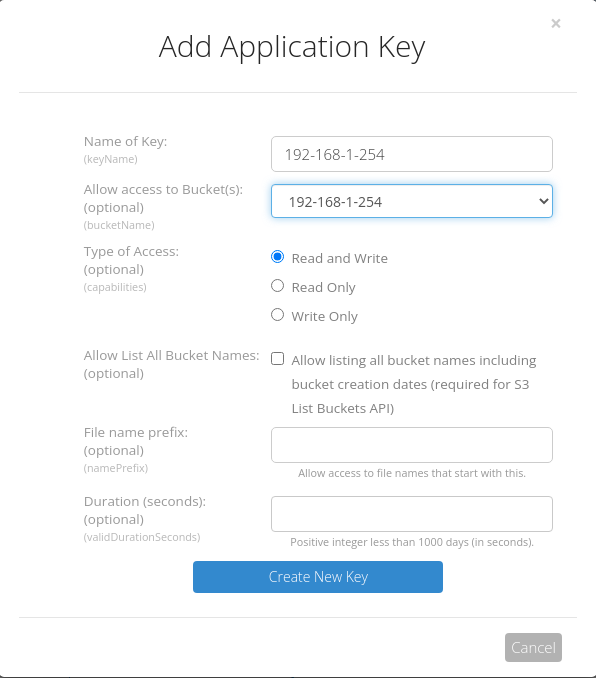
Make a note of the details it displays they will be necessary for a later article describing the backup process.